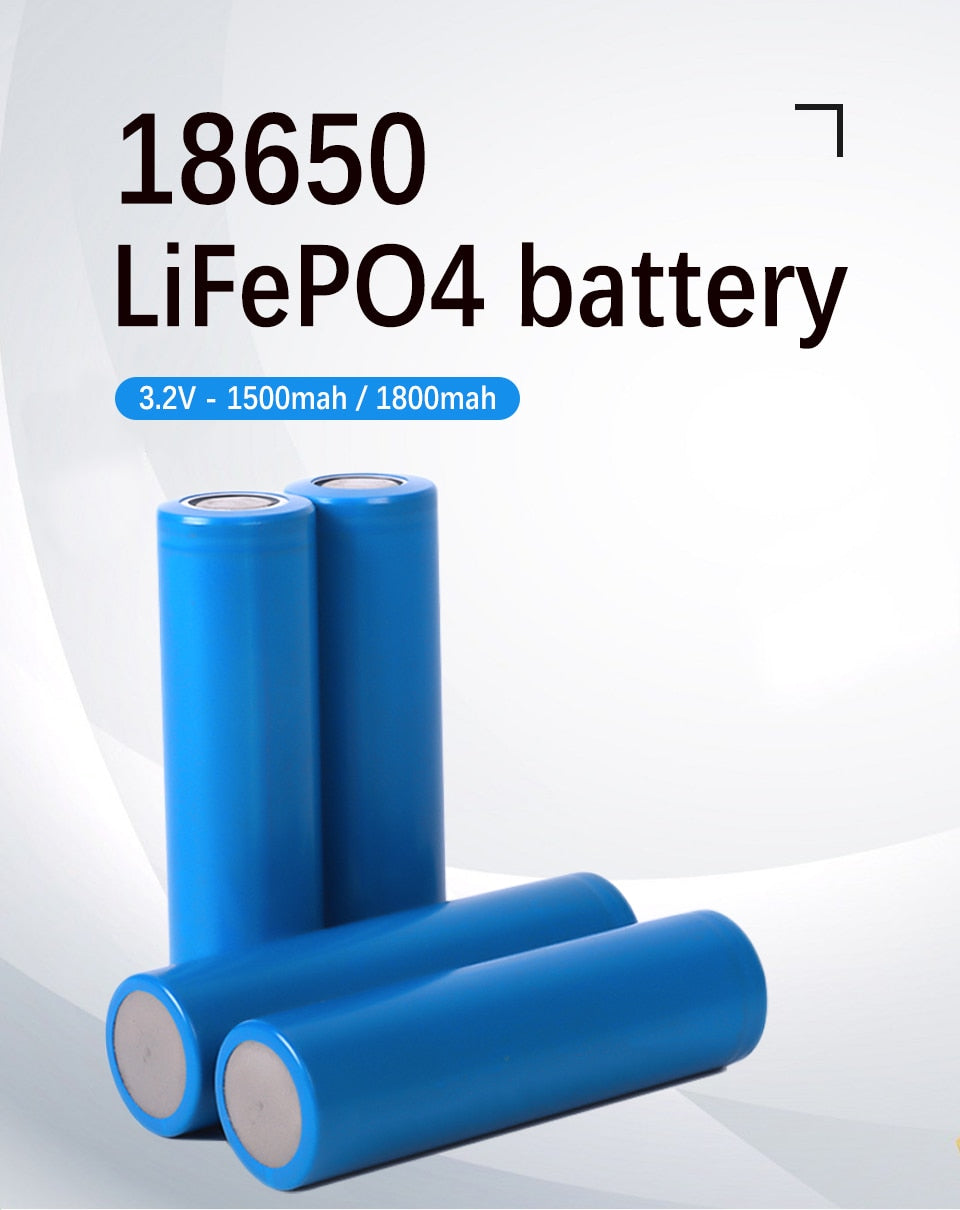
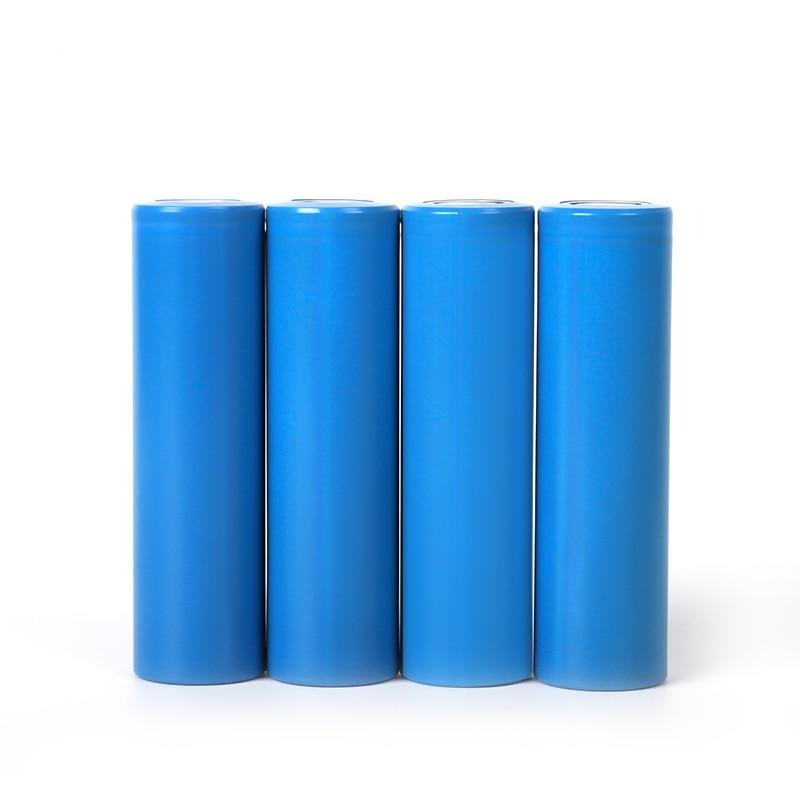
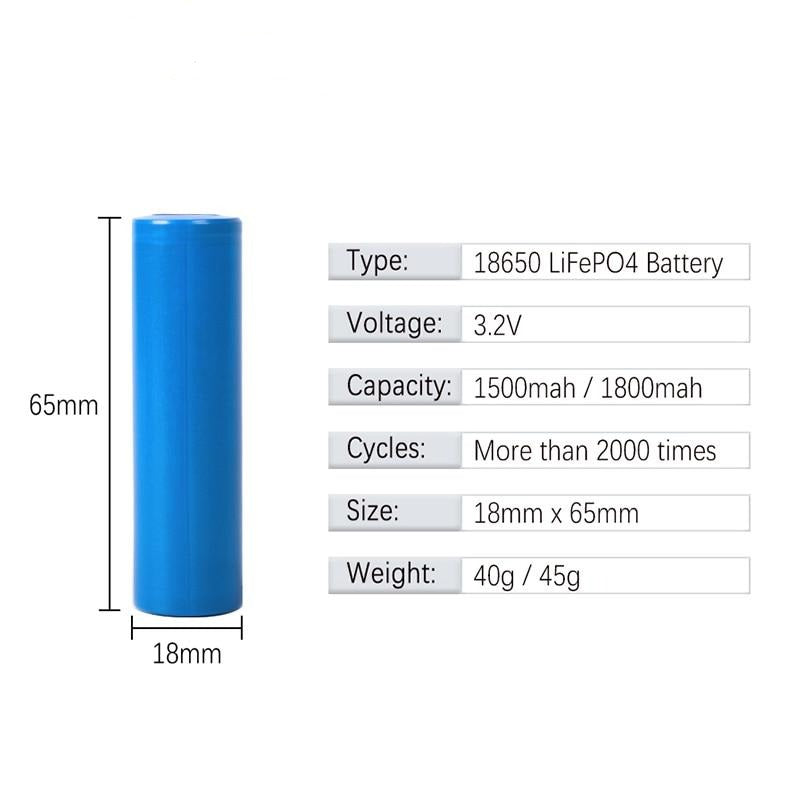
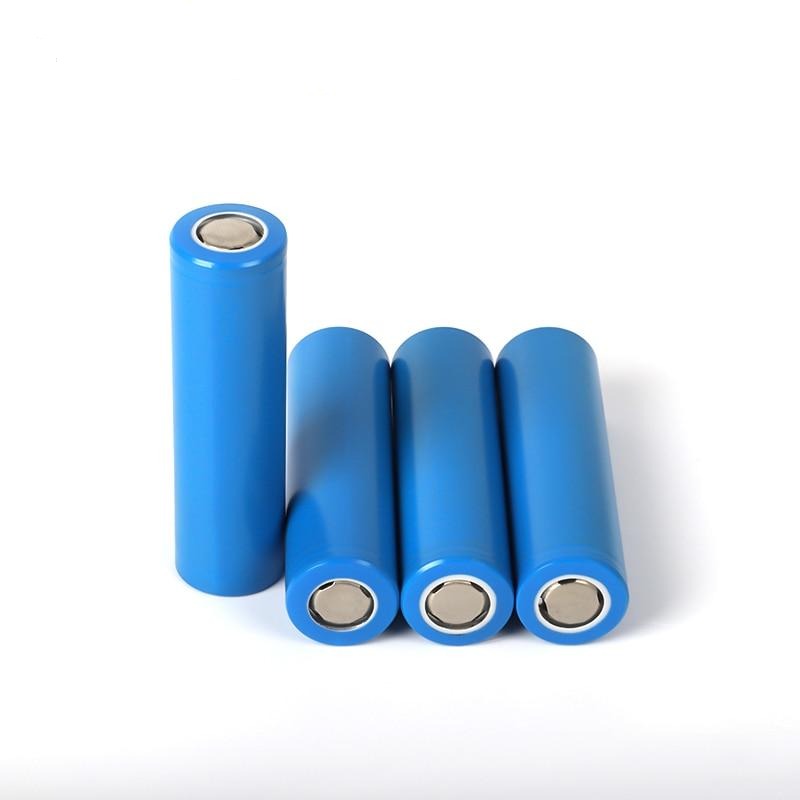
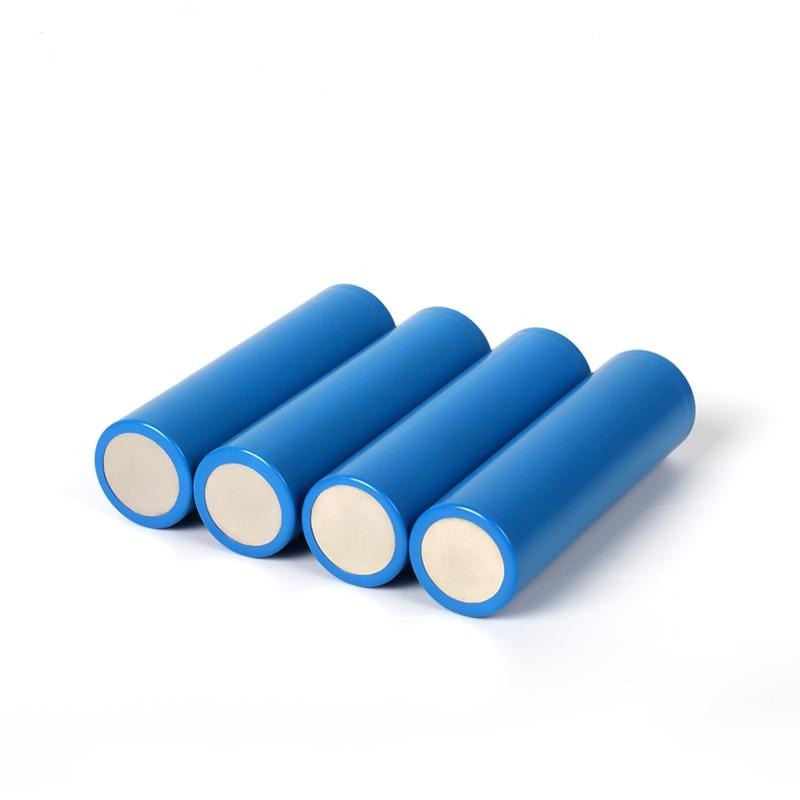
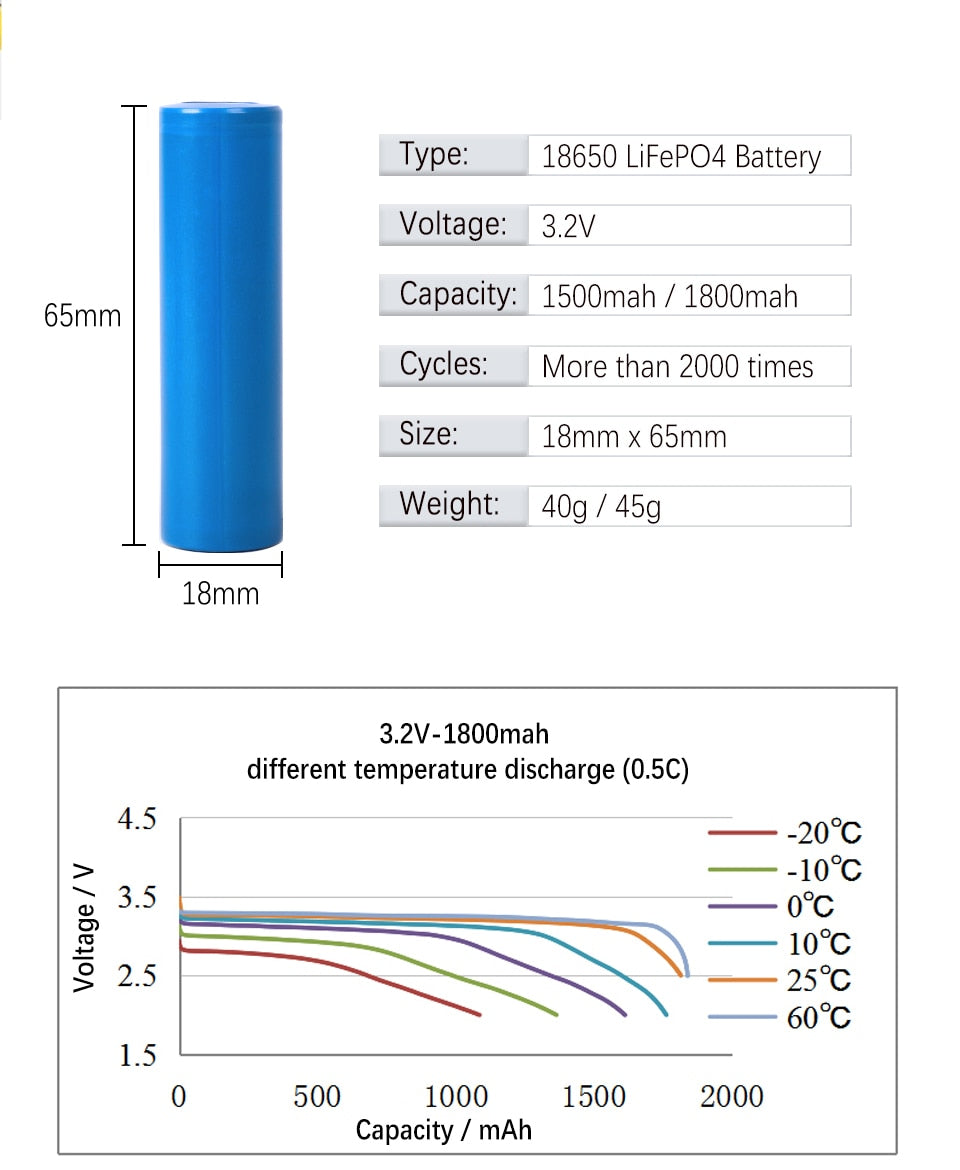
18650 LiFePO4 (LFP) cell, 1500mAh nominal capacity, 3.2V nominal voltage. CE and RoHS certified. Dependable, long-cycle-life power for DIY battery packs, solar storage, lighting, and general 18650 applications.
Type
LiFePO4 (LFP)
Nominal Capacity
1500mAh (0.2C)
Nominal Voltage
3.2V
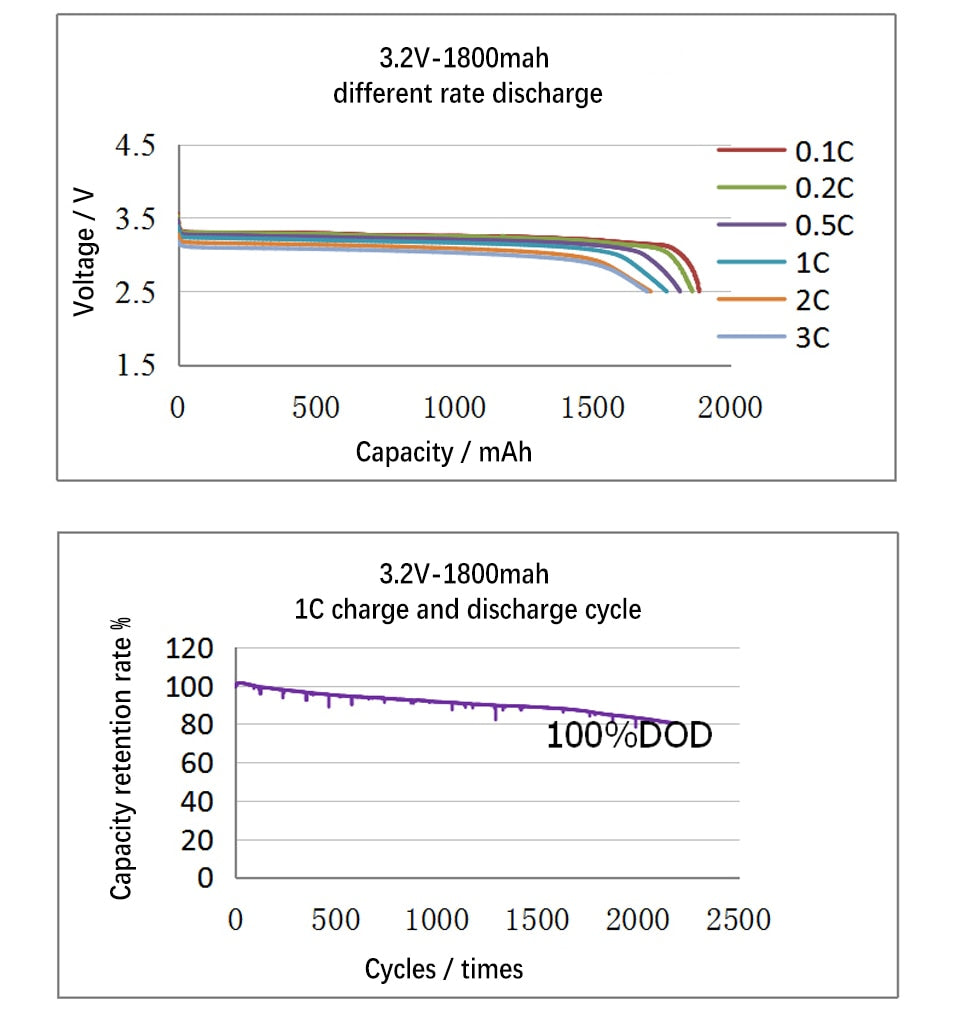
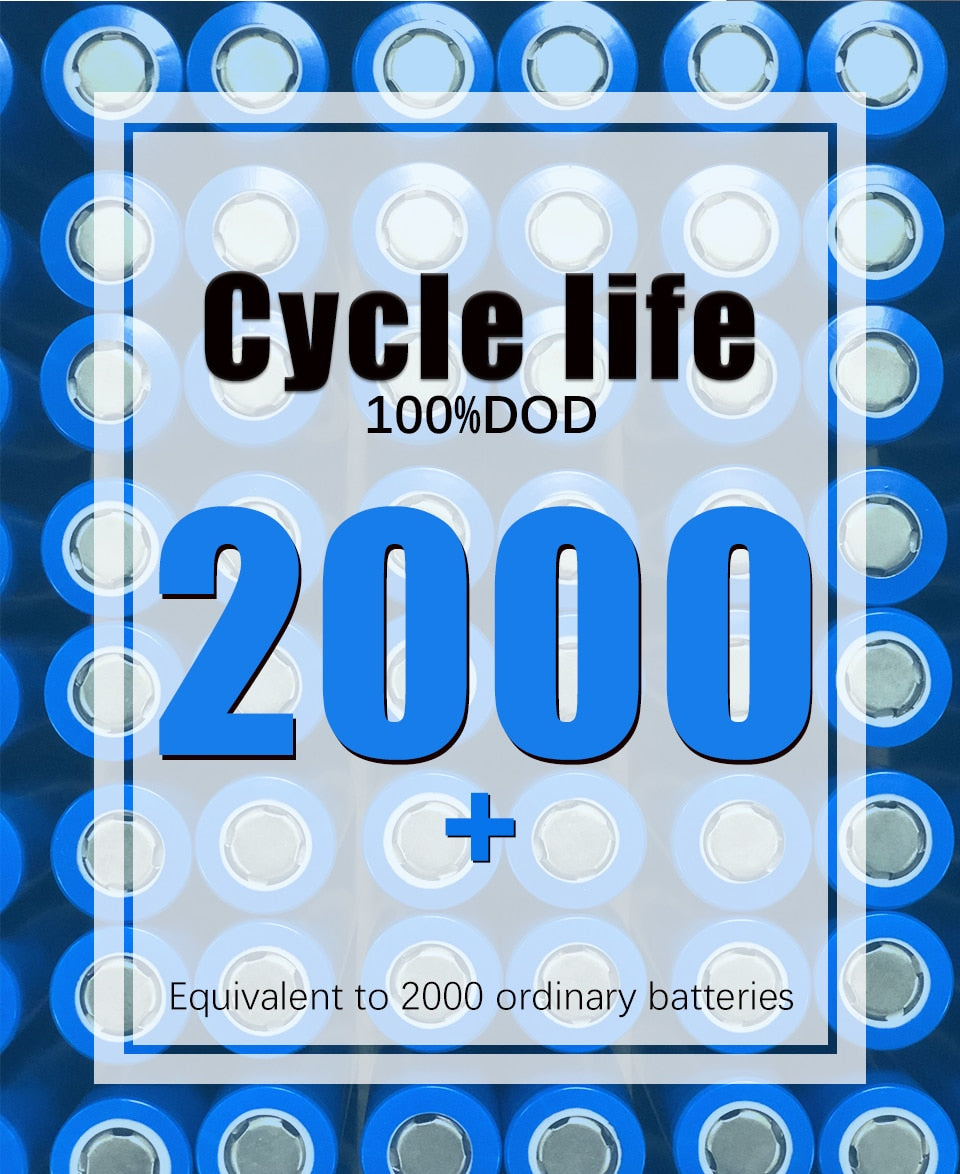
Cycle Life
2000+ cycles (0.2C)
Internal Resistance
40mΩ or less
Standard Charge Current
300mA
Max Continuous Discharge
4500mA (3C)
Charge Voltage
3.65V
End-of-Discharge Voltage
2.0V
Operating Temperature
0°C to 45°C
Certification
CE, RoHS
Country of Origin
China
Size
18650
Spot Welding These Cells
Connect these cells with a spot welder and pure nickel strip (0.10 mm or 0.15 mm). Do not solder directly to the cell. A soldering iron holds heat on the terminal long enough to damage the cell inside, even when the outside looks fine.
Use pure nickel, not nickel-plated steel. Plated steel has higher resistance and welds poorly.
Start at your welder's lowest setting. A spot weld pulse lasts a few milliseconds, not seconds. Too much energy can damage the cell internally, and the damage may not show until the pack underperforms.
Test on a sacrificial cell first. Weld a strip, then tear it off with pliers. A good weld rips the nickel and leaves small spots of metal on the terminal. If the strip peels off clean, raise the power one step and try again. Stop at the first setting that holds.
Use firm, even probe pressure and weld at least two spot pairs per terminal.
Check every weld. Pry under the strip edge with a fingernail. Nothing should lift.
Insulate the positive end. The whole can is the negative terminal. Add a fiber insulator ring to each positive end before welding so a strip can never touch the can.